
SCPI for the Spectrum Analyzer
The eLABin1 Spectrum Analyzer (SA) can be remotely controlled by SCPI commands. Below are the SCPI commands for each of the subsystems of the SA listed in tables. |
 |
Comunication with the device
| Command | Description | ||
|---|---|---|---|
SA |
Switches to the SA from the main screen or from another instrument | ||
Common commands
The following Common Commands apply to the entire configuration of the Spectrum Analyzer only when the Spectrum Analyzer is the instrument in foreground. As Common Commands are based in the current context, they apply to the current instrument, when the current view is the main screen. Commands apply for the entire configuration of the eLABin1.
| Command | Description | ||
|---|---|---|---|
SA:*IDN? |
Returns the SCPI identification string of the Spectrum Analyzer. | ||
SA:*RST |
Resets the Spectrum Analyzer | ||
SA:*SAV {A|B|C|D} |
Saves the Spectrum Analyzer state on the selected memory slot. | ||
SA:*WAI |
The Wait-to-Continue (WAI) command causes the Spectrum Analyzer to wait until all pending commands are completed, before executing any other commands. | ||
Frequency Control Commands
| Command | Example 1 | Example 2 | Description |
|---|---|---|---|
SA:FREQuency:CENTer <number>{Hz|KHz|MHz|GHz} |
SA:FREQ:CENT 400KHZ |
SA:FREQ:CENT 1MHZ |
Sets the frequency that corresponds to the horizontal center of the displayed spectrum. |
SA:FREQuency:STARt <number>{Hz|KHz|MHz|GHz} |
SA:FREQ:STAR 200KHZ |
SA:FREQ:STAR 500KHZ |
Sets the limit frequency on the left side of the displayed spectrum. |
SA:FREQuency:STOP <number>{Hz|KHz|MHz|GHz} |
SA:FREQ:STOP 4MHZ |
SA:FREQ:STOP 1MHZ |
Sets the limit frequency on the right side of the displayed spectrum. |
SA:FREQuency:SPAN <number>{Hz|KHz|MHz|GHz} |
SA:FREQ:SPAN 2KHZ |
SA:FREQ:SPAN 8KHZ |
Changes the displayed frequency range symmetrically about the center frequency. |
Amplitude Control Commands
| Command | Example 1 | Example 2 | Description |
|---|---|---|---|
SA:AMPL:RefLEVel {UP|DOWN} |
SA:AMPL:RLEV UP |
SA:AMPL:RLEV DOWN |
specifies the amplitude represented by the topmost grid line. |
SA:AMPL:ATT {LNOI|LDIS} |
SA:AMPL:ATT LNOI |
SA:AMPL:ATT LDIS |
Switches the amplitude attenuation between the linear noise and linear distortion mode. |
SA:AMPL:UNIT {dBm|LdB|uV|V} |
SA:AMPL:UNIT DBm |
SA:AMPL:UNIT V |
Changes the unit to display the measured spectrum on the Y-Axis. |
SA:AMPL:SCAL {UP|DOWN} |
SA:AMPL:SCAL UP |
SA:AMP:SCAL DOWN |
Adjusts gradually the amplitude scale of the vertical scale depending of the granularity steps. |
SA:ADJ:AMPL {UP|DOWN} |
SA:ADJ:AMPL DOWN |
SA:ADJ:AMPL UP |
Adjusts gradually the value of the selected amplitude parameter depending of the granularity steps. |
Display Control Commands
| Command | Example 1 | Example 2 | Description |
|---|---|---|---|
SA:DISPlay:REPResent {2D|ANALOG|3D|WSPEC} |
SA:DISP:REPR 3D |
SA:DISP:REPR WSPEC |
Switches the display representation of the spectrum between: 2D,Analog,3D or Welch Spectrogram |
SA:DISPlay:ColorMAP {JET|HSV|HOT|COOL|BONE|GRAY|YELLOW} |
SA:DISP:CMAP HOT |
SA:DISP BONE |
Switches the color map representation of the measured spectrum between one of the seven color maps available. |
Marker Control commands
| Command | Example 1 | Example 2 | Description |
|---|---|---|---|
SA:MARK{1|2|3|4|D}:STAT {ON|OFF} |
SA:MARKD:STAT ON |
SA:MARK2:STAT OFF |
Turns ON/OFF one of the five available markers. |
SA:MARK RMAL |
SA:MARK RMAL |
|
Remove all the activated markers. |
SA:MARK{1|2|3|4|D} CENTer |
SA:MARK2:CENT |
SA:MARK4:CENT |
Sets the center frequency to the frequency of the selected marker. |
SA:MARK{1|2|3|4|D} STARt |
SA:MARK3:STAR |
SA:MARK4:STAR |
Changes the start frequency to the frequency of the selected marker. |
SA:MARK{1|2|3|4|D} STOP |
SA:MARK1:STOP |
SA:MARK2:STOP |
Changes the stop frequency to the frequency of the selected marker. |
SA:MARK{1|2|3|4|D} RefLEVel |
SA:MARK2:RLEV |
SA:MARK4:RLEV |
Sets the reference level to the amplitude value of the selected marker. |
SA:MARK{1|2|3|4|D}:{PEAK|RPEAK|LPEAK} |
SA:MARK:RPEAK |
SA:MARK:LPEAK |
Moves the selected marker to the next right/left peak or to the absolute peak. |
Bandwidth Control commands
| Command | Example 1 | Example 2 | Description |
|---|---|---|---|
SA:BW:VBW {UP|DOWN} |
SA:BW:VBW UP |
SA:BW:VBW DOWN |
Remove all the horizontal or vertical activated cursors. |
SA:BW:VRBW {UP|DOWN} |
SA:BW:VRBW DOWN |
SA:BW:VRBW UP |
Increase or decrease the current value of the resolution bandwidth (steps depend of the granularity mode). |
Span Control commands
| Command | Example 1 | Example 2 | Description |
|---|---|---|---|
SA:SPAN:{ZIN|ZOUT} |
SA:SPAN ZIN |
SA:SPAN ZOUT |
Applies a some in or a some out to the Span frequency. |
SA:FullSPAN |
SA:FSPAN |
|
Changes the frequency span of the analyzer to the preset frequency span of the analyzer. |
SA:LastSPAN |
SA:LSPAN |
|
Changes the displayed frequency span to the previous span setting. |
Other Control commands
| Command | Example 1 | Example 2 | Description |
|---|---|---|---|
SA:Channel{1|2|3|4}:STATe {ON|OFF} |
SA:C1:STAT ON |
SA:C3:STAT OFF |
Turns ON/OFF the specified channel. |
SA:STePS {FINE|COARse} |
SA:STPS COAR |
SA:STPS FINE |
Sets the granularity steps to Fine or Coarse (scale values steps depend of this parameters). |
SA:PRINT |
SA:PRINT |
|
Outputs a copy of the screen to a printer or other device. |
SA:SYST:AUTO |
SA:AUTO |
|
evaluates all inputs and find the optimum conditions for displaying the measured spectrum. |
SA:SYST:SINGLE |
SA:SINGLE |
|
Sets the analyzer for Single measurement operation. |
SA:{AWG|RFG} |
SA:AWG |
SA:RFG |
Activates the AWG or RF-Generator panel on the Spectrum Analyzer to use their functions. |
SA:LOAD:STATe {A|B|C|D} |
SA:LOAD:STAT B |
SA:LOAD:STAT D |
Loads the storaged data on the specified memory state. |
SA Query Commands
| Command | Example | Return | Description |
|---|---|---|---|
SA:Channel{1|2|3|4}:STATe? |
SA:C3:STAT? |
SA:C3:STAT ON |
Asks for the state of the specified channel. |
SA:MARK{1|2|3|4}:STATe? |
SA:MARK2:STAT? |
SA:MARK2:STAT OFF |
Asks for the state of the specified marker. |
SA:FREQuency:CENTer? |
SA:FREQ:CENT? |
SA:FREQ:CENT 400KHZ |
Asks for the Center Frequency value. |
SA:FREQuency:STARt? |
SA:FREQ:STAR? |
SA:FREQ:STAR 200KHZ |
Asks for the Start Frequency value. |
SA:FREQuency:STOP? |
SA:FREQ:STOP? |
SA:FREQ:STOP 1MHZ |
Asks for the Stop Frequency value. |
SA:FREQuency:SPAN? |
SA:FREQ:SPAN? |
SA:FREQ:SPAN 8KHZ |
Asks for the Span Frequency value. |
SA:AMPLitude:RefLEVel? |
SA:AMPL:RLEV? |
SA:AMPL:RLEV DOWN |
Asks for the Amplitude Reference Level. |
SA:DISPlay:REPResent? |
SA:DISP:REPR? |
SA:DISP:REPR WSPEC |
Asks for the Display representation of the measure spectrum. |
SA:DISPlay:ColorMAP? |
SA:DISP:CMAP? |
SA:DISP:CMAP HOT |
Asks for the Color Map representation of the measure spectrum. |
SA:BW:RBW? |
SA:BW:RBW? |
SA:BW:RBW DOWN |
Asks for the Resolution Bandwidth value. |
SA:BW:VRBW? |
SA:BW:VRBW? |
SA:BW:VRBW UP |
Asks for the Video Resolution Bandwidth value. |
SA:AMPLitude:ATT? |
SA:AMPL:ATT? |
SA:AMPL:ATT LDIS |
Asks for the amplitude Attenuation mode. |
SA:AMPLitude:UNIT? |
SA:AMPL:UNIT? |
SA:AMPL:UNIT V |
Asks for the configured Amplitude unit. |
SA:AMPLitude:SCALe? |
SA:AMP:SCAL? |
SA:AMP:SCAL DOWN |
Asks for the Amplitude Scale value. |
SA:STePS? |
SA:STPS? |
SA:STPS COAR |
Asks for the granularity steps value. |
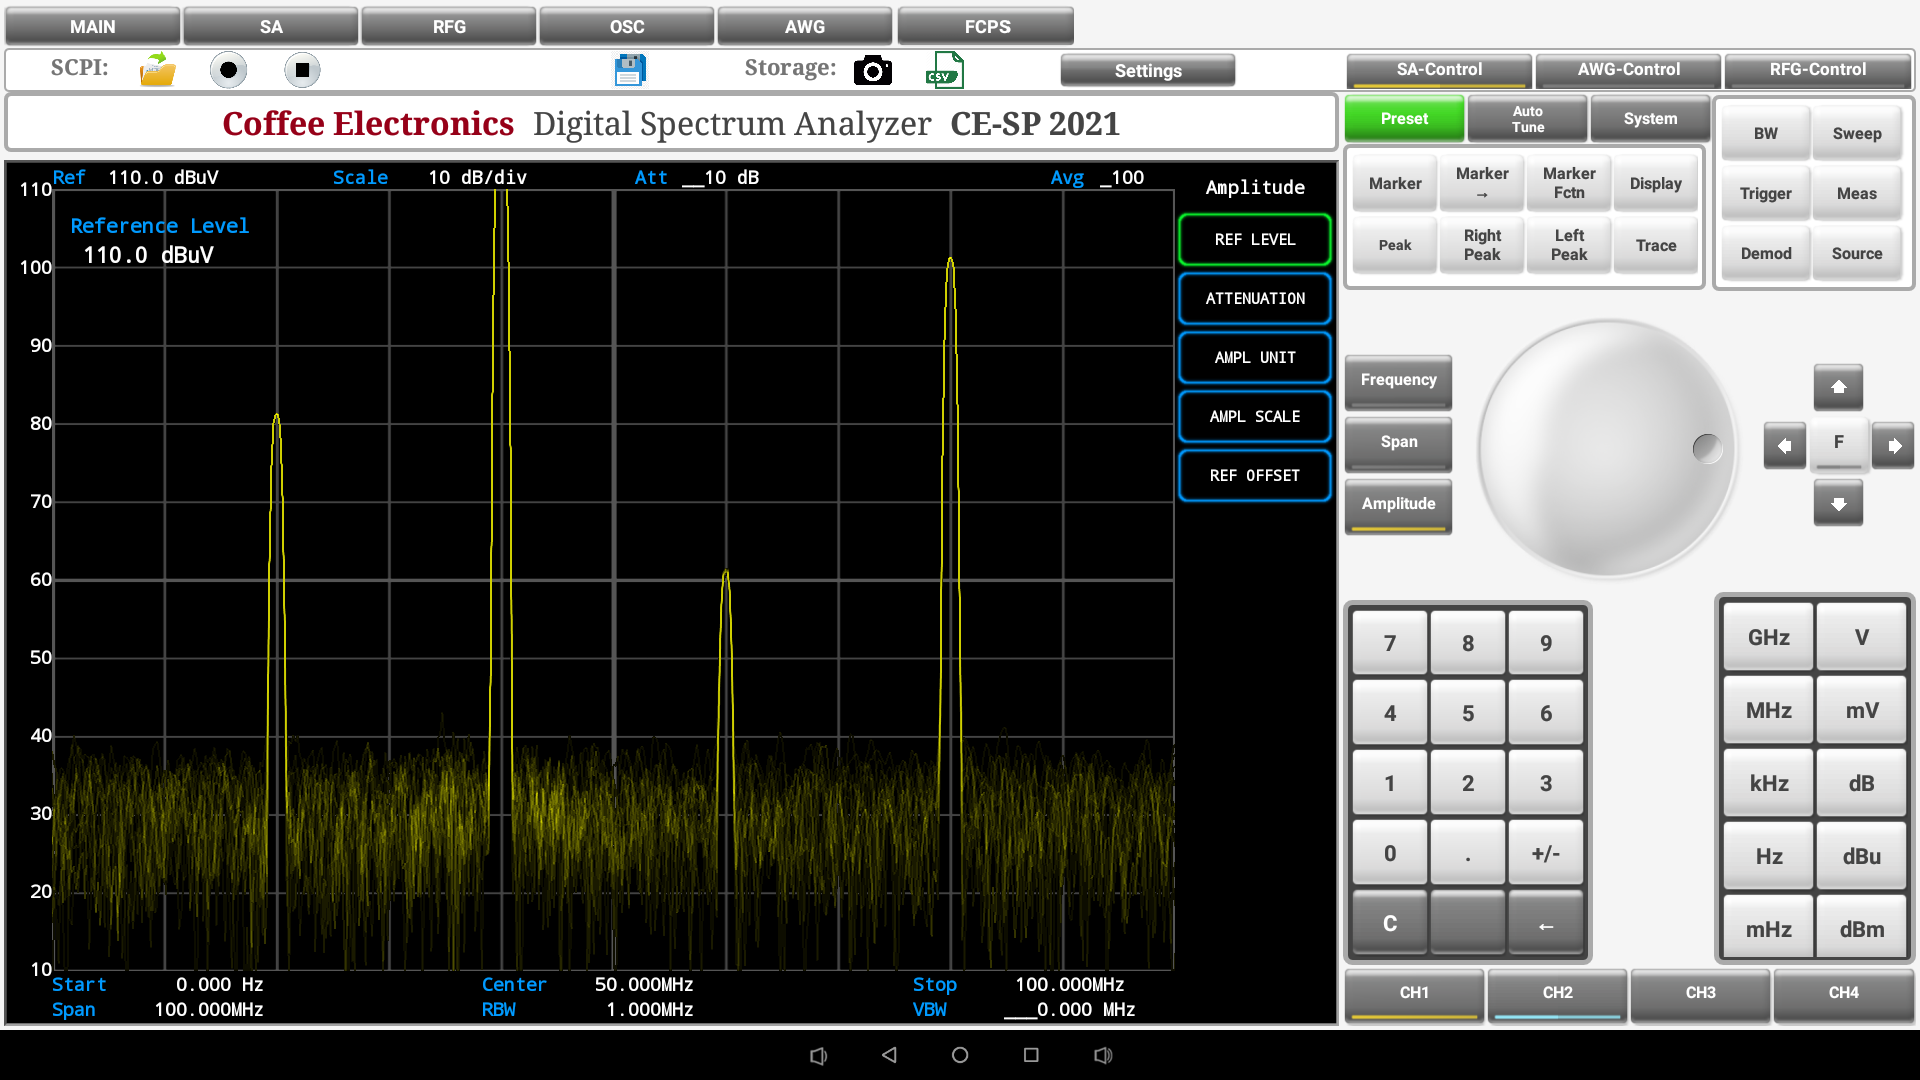
Preset Values
| Variable | Value | Variable | Value |
|---|---|---|---|
| Channel 1 State | ON | Channel 2 State | ON |
| Channel 3 State | ON | Channel 4 State | ON |
| Center Frequency | 5 MHz | Span Frequency | 100 MHz |
| Amplitude Scale | 10 dB/div | Amplitude Reference | 110.0 dBµV |
| Marker 1 | Position: 0 Hz; State: OFF | Marker 2 | Position: 0 Hz; State: OFF |
| Marker 3 | Position: 0 Hz; State: OFF | Marker 4 | Position: 0 Hz; State: OFF |
| Display Representation | Analog | Display Memory | 16 K |
| Display Color Map | Yellow |